
How to set up redirects on Shopify? (manual set up, bulk import, and real subfolder redirect example)
Setting up redirects on your Shopify store is a crucial task that allows you to seamlessly redirect one URL to another. There are several reasons why you might need to implement redirects, such as when you decide to redirect a subfolder within your Shopify market (e.g., /de-de) to your root domain (/) together with all corresponding URLs from subfolders to your primary domain.
This guide aims to provide you with two available methods to set up redirects on Shopify: manual redirection and bulk import. By following these steps, you will be able to efficiently manage your store’s URL structure and enhance the overall user experience. As a bonus, we will show you a quick way to obtain all visited subfolder URLs that require a redirect setup.
Adding Shopify redirects manually
Adding Shopify redirects manually is a straightforward and efficient solution that can be easily accomplished through your Shopify admin. This method is particularly suitable when you have a small number of redirects to set up. By following these simple steps, you’ll be able to establish redirects within your Shopify store with ease:
- Log in to your Shopify admin.
- Navigate to the “Navigation” section.
- In the top right corner, you will find the “View URL redirects” button. Click on it.
- Click on “Create URL redirect.”
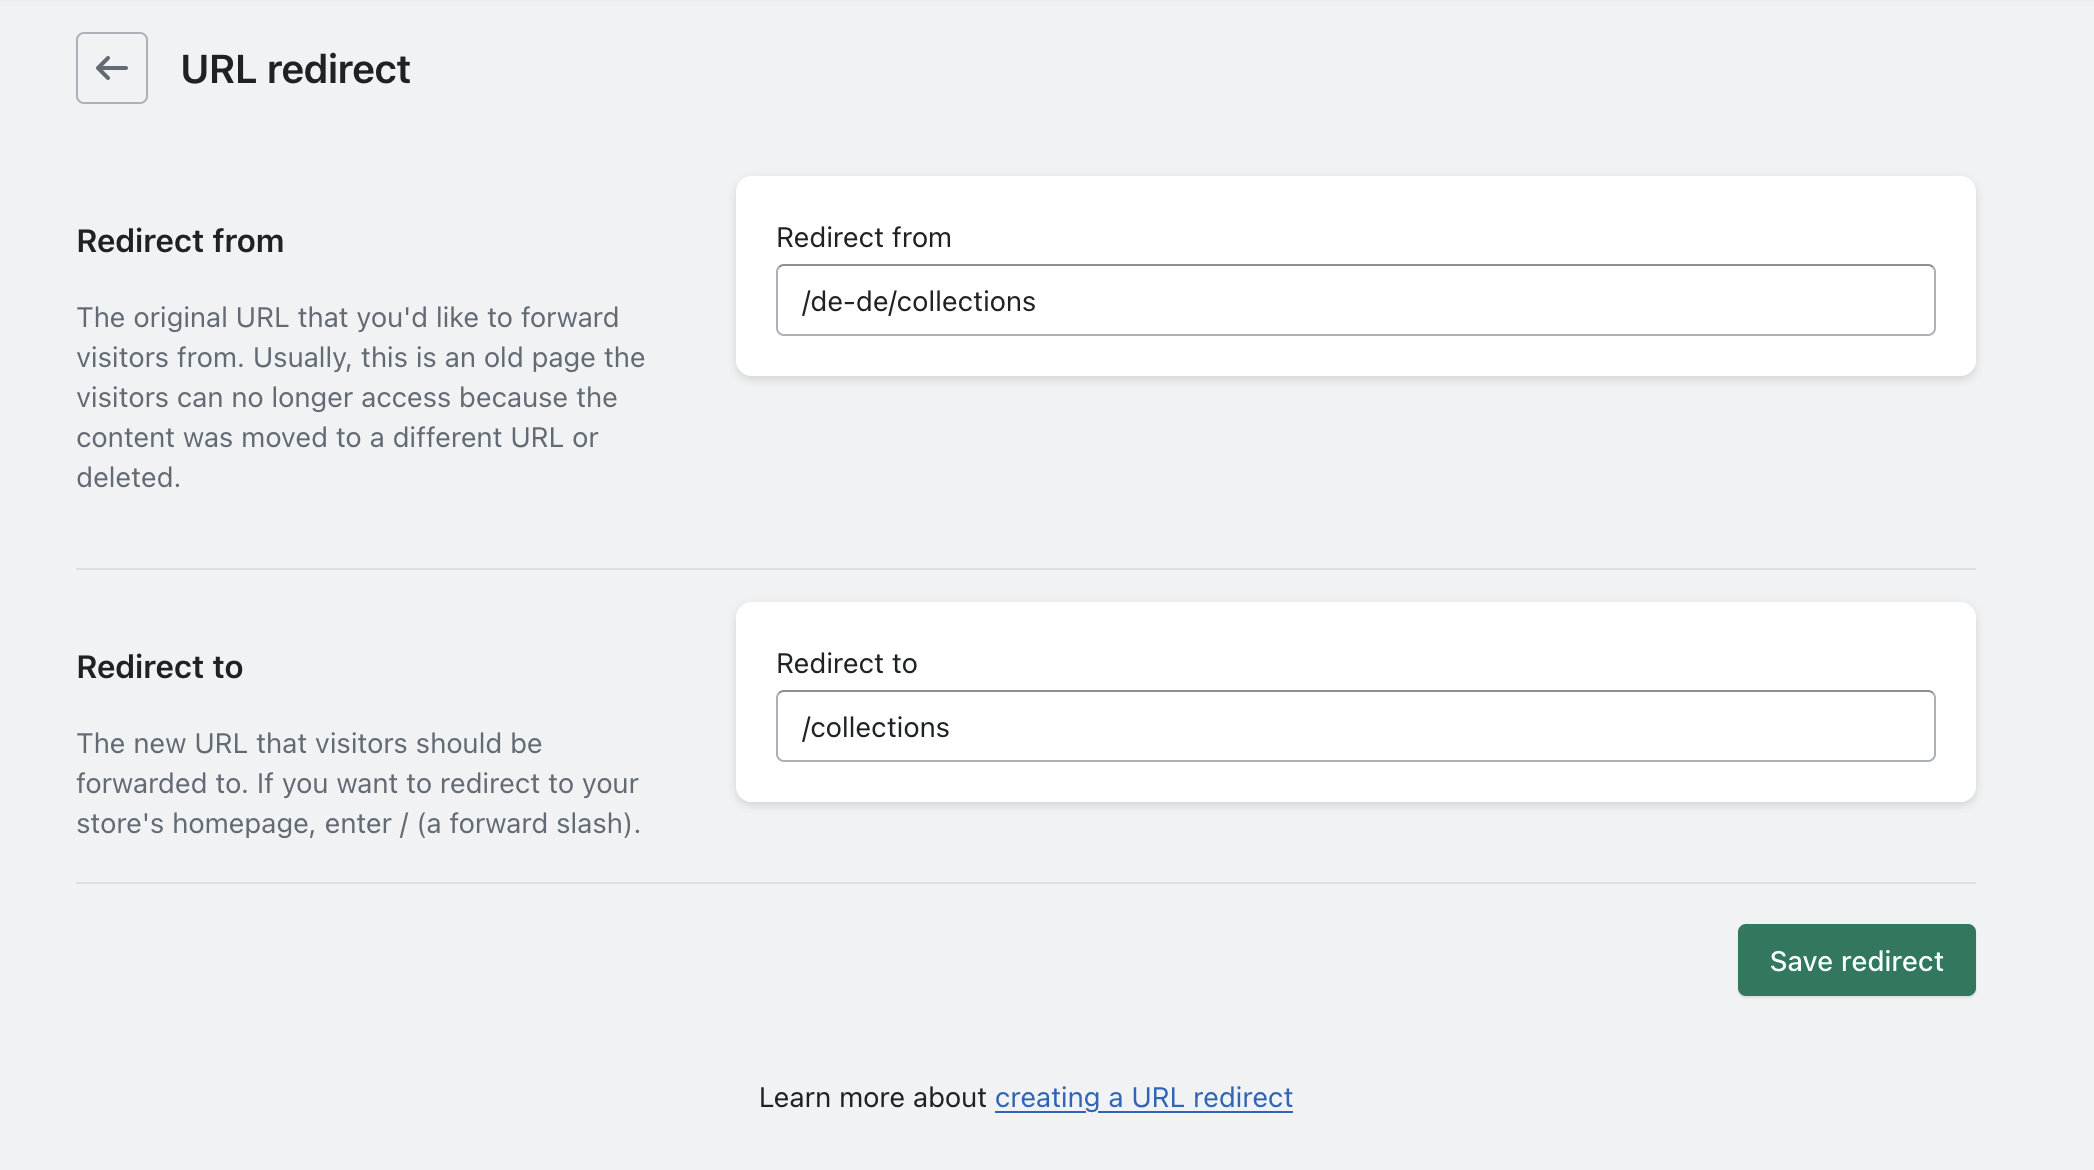
- In the “Redirect from” field, paste the original URL that needs to be redirected.
- In the “Redirect to” field, paste the new URL where you want your visitors to be forwarded.
- Save your redirect.
When you return to the redirects overview, you should see the newly created redirect listed at the top.
Bulk redirects import
When faced with a large number of URLs to redirect, utilizing the bulk import feature in Shopify is a time-saving solution. Shopify offers an example CSV file that you can download to facilitate the process. The CSV file includes only two compulsory columns with headers: “Redirect from” and “Redirect to”. As the column headers suggest, you will enter one URL per row in the “Redirect from” column, along with its corresponding new URL in the “redirect to” column. Each row represents a separate redirect pair.
In our example, where you intend to redirect subfolder URLs to the primary domain on Shopify, it is crucial to note that Shopify does not automatically set up these redirects for you. Therefore, you would need to handle the redirect setup on your own. However, if you have a large number of pages and want to streamline the process by focusing on subfolder URLs that have been visited recently and are worth redirecting, leveraging your Google Analytics data can be highly beneficial.
- Access your GA4 account (Have you already migrated to GA4? If not, refer to our article Migrating Shopify store from Universal Analytics to Google Analytics 4).
- Navigate to “Reports” → “Engagement” → “Pages and screens”.
- Apply a filter to display pages that include your specific subfolder code (e.g., “/de-de”).

- Save the report and export this filtered report as a CSV file.
- Open the exported CSV file, leaving it open for reference.
- Download the provided Shopify sample redirect import file.
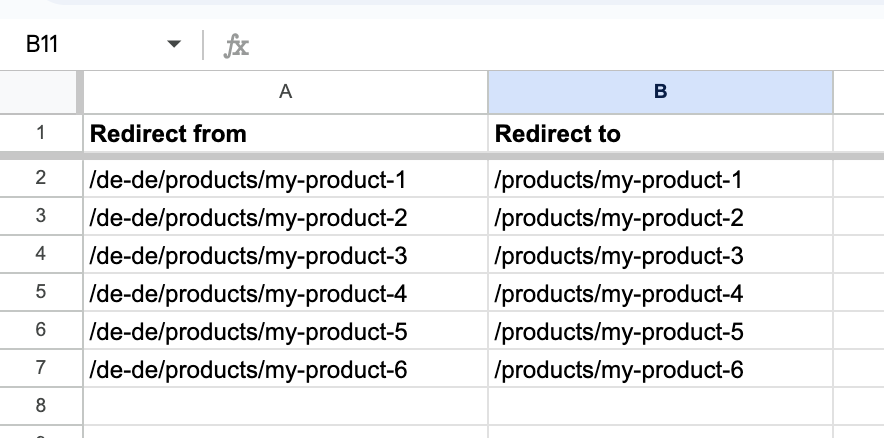
- Open the redirect import file (e.g. in Google Sheets) and locate the “Redirect from” column.
- Copy and paste all the URLs from the GA4 report into the “Redirect from” column of the redirect import file.

- Use a suitable function (e.g., “substitute”) to remove the subfolder code from the URLs and to paste the new URL versions in the “Redirect to” column. This ensures that the visitors are redirected to the appropriate primary domain.

- Apply the function to all rows.
- Save the redirect import file as a CSV file.
- Go back to Shopify admin, to the redirects section.
- Import this CSV file to Shopify.
- You will receive an email notification from Shopify indicating whether the redirects have been uploaded successfully. This email serves as confirmation that the redirect setup process has been completed. And that’s it!
Are there any redirects done automatically by Shopify?
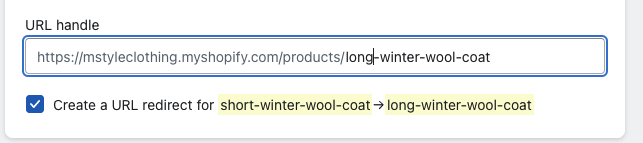
When you modify the URL handle of a product or collection in Shopify and select the option “Create a URL redirect for”, Shopify will automatically generate a redirect from the old URL to the new one. This ensures that any existing links or bookmarks pointing to the previous URL will be redirected to the updated URL, maintaining a seamless browsing experience for visitors.
It’s important to note that for other types of URL redirects, such as our subfolder example, Shopify does not provide automatic redirection. In such cases, manual setup or bulk import of redirects, as previously discussed, is necessary to ensure proper redirection of URLs.