3 ways how to add products to Shopify
Products are the core element of your Shopify store, and it’s essential to treat them as such. They represent any goods, digital services, gift cards, and more that your customers can purchase on your store. To showcase your products, you first need to add them to the store with all relevant information.
In this article, we’ll describe the three main ways you can add products to your Shopify store, along with their pros and cons.
Manual upload through Shopify admin
The simplest way to add a new product to Shopify is through manual upload, which is probably the method you will start with. With this method, you can easily add a product title, description, images, SKUs, inventory levels, and more. If your product has options such as color, size, material, etc., you can add a variant for each combination of options. Additionally, you can assign specific variant images, prices, inventory levels, and SKUs for each product variant.
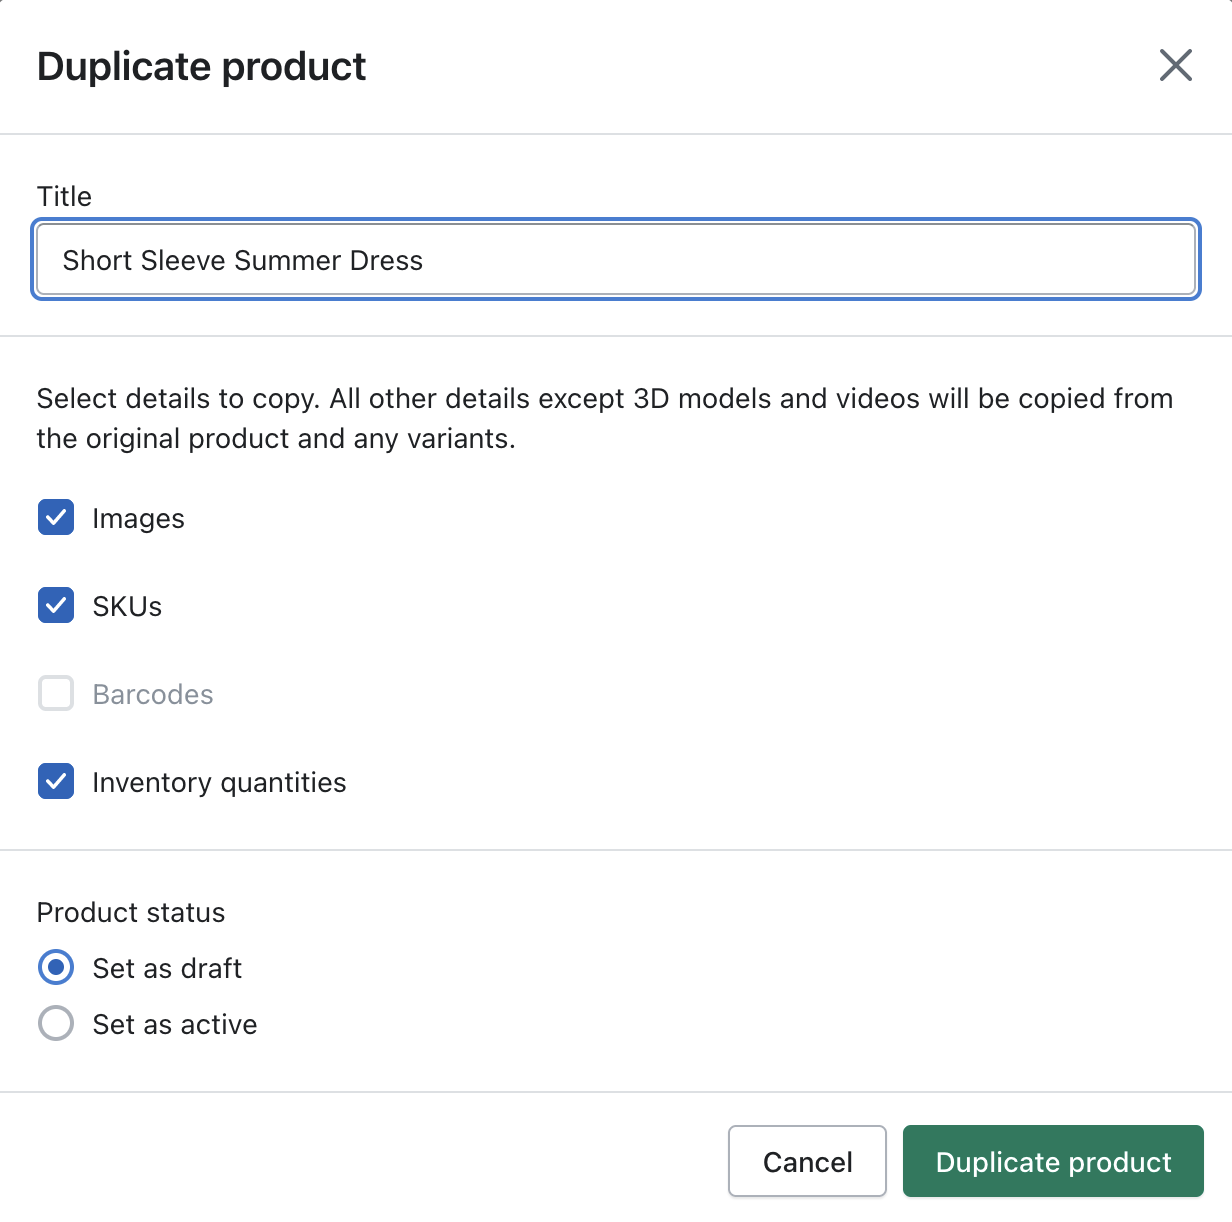
Shopify also offers several admin tools to simplify the process. For instance, the product duplication feature allows you to duplicate a product and make changes to the duplicate product to save it as a new product. You can choose to copy some of the information for the new product from the original product.

Another useful tool is the bulk editor, which lets you edit product information for multiple products at once, significantly speeding up the upload process.
Overall, manual upload is great when you’re just starting with Shopify or have only a few products to upload. However, manually uploading dozens of products can be time-consuming.
Importing products with a CSV file
Importing products as a CSV file is a more advanced but significantly faster method of uploading products to your Shopify store. This involves creating a CSV file with all the necessary product information and uploading it back to Shopify. This method allows for bulk uploads and can be accomplished through programs like Google Sheets using helpful shortcuts.
This method is particularly useful when you want to upload many products or make changes to many existing products. When making changes, we recommend exporting the relevant products (backing up them!), opening them in a spreadsheet, making changes, and then uploading the CSV file back to Shopify. When making changes to existing products, make sure to select “Overwrite any current products that have the same handle. Existing values will be used for any missing columns” to avoid duplicate products.
When uploading new products, you can either export existing products, open them in a spreadsheet, and use them as a sample for uploading new products (useful if you upload similar products), or you can download a sample CSV file prepared by Shopify.
Note: Your CSV file must be UTF-8 encoded, and make sure to use a comma as the separator. Otherwise, you may encounter issues when importing the product CSV file when importing the product CSV file back to Shopify, such as Illegal quoting in line 2 and missing headers: Title. How to solve this Shopify CSV file import error?
Importing products from another ecommrece platform (e.g. ETSY)
Importing products from another platform (such as Etsy) to Shopify is a simple and efficient process that can save you time and effort. Instead of manually adding each product to Shopify, you can use app integrations available on the Shopify app store to easily transfer your product information. These integrations usually offer real-time synchronization, which means that any updates to your inventory levels or orders made on the other platform will also be reflected in Shopify.
If you’re migrating product information from Etsy, you can consider using the ETSY App from the Shopify app store. If you’re coming from WooCommerce, you may want to use the Ablestar WooCommerce Importer. It’s important to note that these apps come with a recurring monthly charge, but the time and energy you save on manual synchronization can make them well worth the investment.
