
A file metafield list of values: How to render a file name (with a link)?
In one of our previous Shopify Q&As articles, we explanied how to display a metafield list of values. This article follows up on this topic. We’ll focus on how to render file names when using a file metafield list of values on your Shopify store. We’ll explain it on the following example.
Example
Imagine you would like to add style guides for a your fashion items in pdf format so that your customers can download them directly from the indiviudal product pages to get ideas on how to wear your garments. Each product can have more styles guides (such as “How to wear a cape in winter?” or “How to wear a cape with jeans?”, and else). Therefore, a file metafield list of values is the right solution for this use case. In addition to that, you want to render the name of the files so that customers know what style guide they’ll be downloading (in other words, the clickable text for downloading the style guides correspond to the name of the style guide). We’ll show the solution on the Dawn Theme.
Create a file metafield list of values
- Go to your Shopify admin -> Settings -> Metafields
- Click Products -> Add Definition
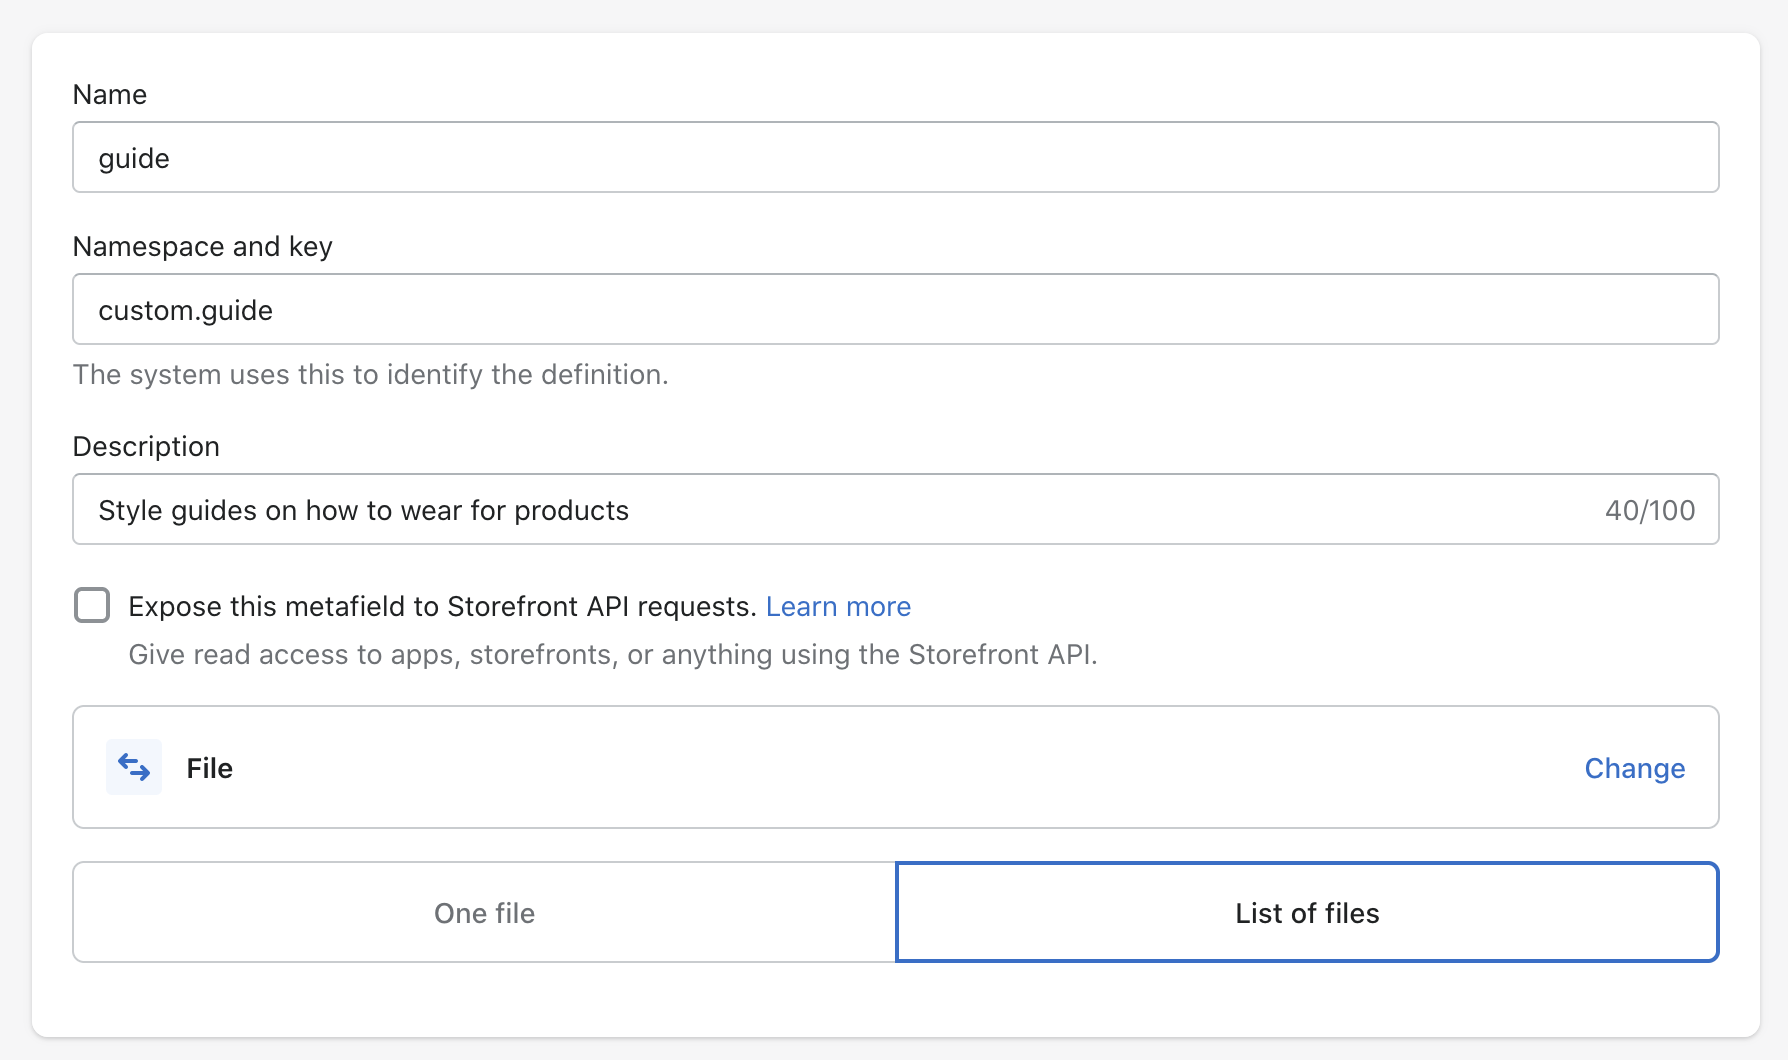
- Name your metafield (e.g. guide)
- Select a file and then list of values.
- In the validation section, choose Accept all file types.
- Save the metafield.
Populate the metafield with files
- Go to Shopify admin -> Products -> Select a product you would like to add the style guides for.
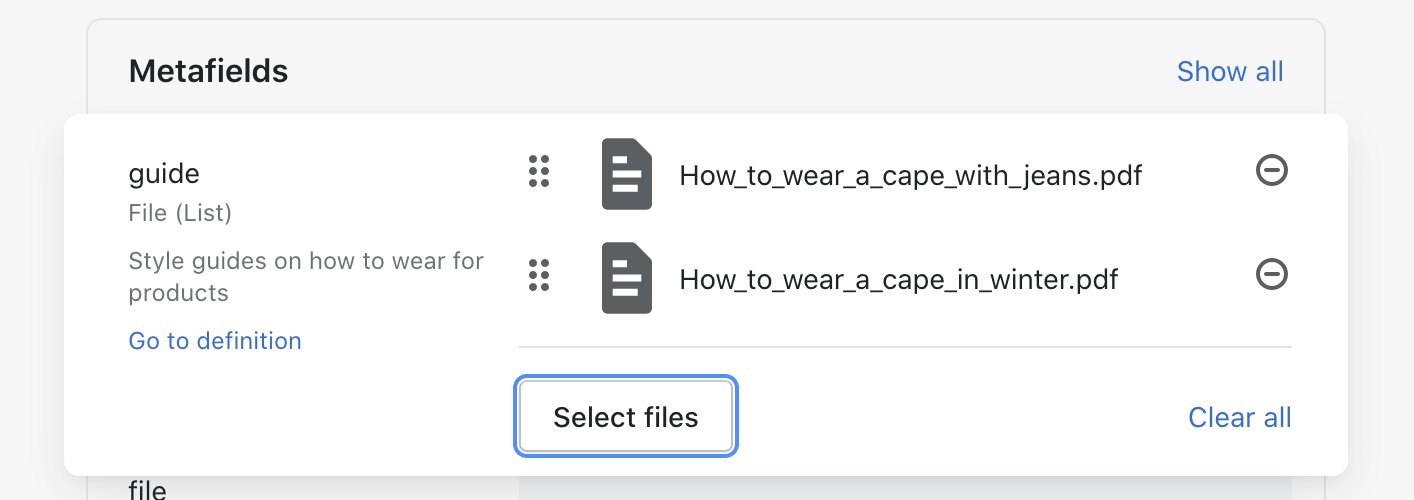
- Scroll down to the Metafields section (the bottom of the page).
- Click the newly added metafield (guide) and start adding the files.
- When you’re finished with populating the files, save the product.
Add a new block and render the file names with a link for downloading the guides
Note: When working with the theme codebase, I highly recommend using Shopify CLI and Shopify GitHub integration. Making changes in the online editor works as well but it’s less efficient and there’s a higher chance of making some unwanted mistakes.
- Find the main-product.liquid file (or corresponding file in another theme).
-
Add a new block in schema section. Feel free to set the settings of the block as you wish. This example adds a heading and rich text to the block.
{ "type": "file_metafield", "name": "File Metafield", "limit": 1, "settings": [ { "type": "text", "id": "heading", "label":"File Metafield Heading", "default": "File Metafield Heading" }, { "type": "richtext", "id": "description", "label":"File Metafield Description", "default": "<p>File Metafield Description</p>" } ] }, - Render the block in the product page’s layout (by using when statement). You might need to add custom CSS classes so that the block fits well in the layout (I used only the theme’s custom CSS for example purposes, please add your custom CSS classes so that the block looks nice).
- Add the following piece of code in the block. This piece of code does the following:
- Renders the block heading,
- Renders the block description,
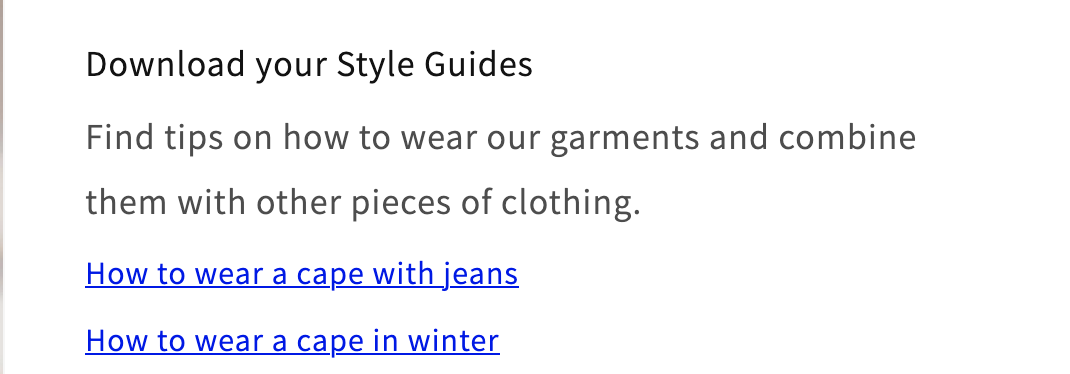
- Enables your customers to download the style guides,
-
Sets up the clickable text for downloading the style guides to the file names.
    {%- when 'file_metafield' -%}
       {%- if block.settings.heading != blank -%}
         <div class="h3 accordion__title">
           {{ block.settings.heading }}
         </div>
       {%- endif -%}
       {%- if block.settings.description != blank -%}
         <div class="product__description rte">
           {{ block.settings.description }}
         </div>
       {%- endif -%}
         {% for file in product.metafields.custom.guide.value %}
           {% assign file_name_initial = file.url | split: '/' | last %}
           {% assign file_name_long = file_name_initial | split: '.pdf' | first %}
           {% assign file_name = file_name_long | replace: "_", " " %}
             <div>
               <a href="{{ file.url }}" target="_blank">{{ file_name }}</a>
             </div>
         {%- endfor -%}
- Rendering the file names isn’t straightforward. You need to:
- get the file url first,
- get rid of the parameters added automatically by Shopify,
- replace the underscore characters with spaces (again done automatically by Shopify).
- And that’s it!
Well done! I hope this guide help you render the file names with a link for downloading the specific file. If you would like to discuss the solution further, just let me know. I’m all ears.